 |
| Homemade Vinegar in Progress... |
Since I'm the type who can't stand to waste anything, I've always wondered if there was something useful to do with all the peels and cores leftover when I make pies and compote. I usually just toss them in the compost, but I read recently that they can be used to make homemade apple cider vinegar... thanks, Internet!
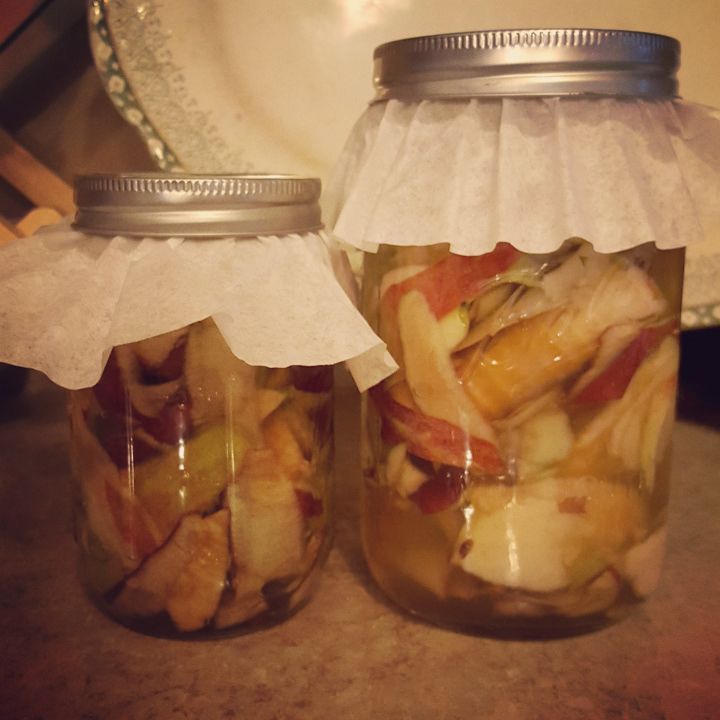
As I was doing my research, I found that there are several recipes out there. Some use sugar or some pre-made vinegar to get things started, but the most basic recipe is to just stuff all your cores and scraps into jars, and cover with purified water, and let it sit. Since I'd just used up the last of my sugar making some apple compote, I decided to try making my first batch without sugar. I started with all the scraps leftover from my compote, and water that I had boiled and let cool. I did add a splash of raw cider vinegar to mine, just to get things rolling. It is really important to make sure your apple stuff is completely submerged, so it won't get moldy. Next, put coffee filters over the top of the jar and secure with the metal band (leave the cap part off) Place your jars someplace out of direct sunlight, and let them sit for a week or so. During the week you should see some little bubbles going on in there, which indicates that fermentation is happening!
 |
| Almost vinegar |
I'm really exciting to see how this project turns out! I will most definitely post an update as our vinegar progresses.
Next post, I'll be sharing a deeeelish vegan recipe that is perfect for a chilly Autumn day... :)
I can't wait to hear how this turns out. I've been doing water kefir and grew my own kombucha scoby and made my own yogurt but never vinegar.
ReplyDeleteI've been wanting to try making kombucha! If you have done those things, vinegar should be easy! I'd love to hear how it turns out for you.
Delete