Wednesday, March 27, 2013

Drying Peppers

So The Man of the House loves himself some hot peppers. The hotter the better! On a recent shopping trip, he picked up a whole bunch of habaneros. For those who have never tasted a habanero, let me tell you, these things are HOT. Habaneros are generally considered to be about 60 times hotter than jalapenos... Yikes!

What this basically means is that we had a big bag of hot peppers that no one in the house except for The Man was willing to eat. And there were far too many peppers for him to eat before they went bad. Since we are all about Simplicity and frugality, we don't like to waste food, so we went looking for the best way to preserve those peppers so The Man could enjoy every last one of them.

We ended up settling on drying the peppers. I washed them all and set them on a baking rack, which I put into a very low oven. I do have a food dehydrator, but I didn't feel like taking it out since I had another project going on the counter that day. So the ol' oven it was.

I did notice that some of them dried faster than others, so if you try this at home, be sure to watch them carefully. I did pull some out sooner, once they seemed done enough, and left the rest in to finish up. Once they were all dry, I put them in a jar for storage.


The Man has been known to open this jar, and just bite right into one of these. Crazy, I tell you!


Saturday, March 2, 2013

Garden Planning, and Indoor Potato-Growing Update!!

Preliminary Garden Plans
Typically, February is the time when we start milling through seed catalogs, making lists and planning out our garden for the year. Thinking ahead to the Spring in this way really helps us get through those long, dark, final days of winter. This year, we are a few weeks late getting started (January and February were a blur and we're still recovering) but, better late than never, no? This past week we pulled out our Garden Notebook, and we've started a page for 2013! We're making lists of things we want to plant, and drawing our diagrams of what may go where. When making our garden plans, we always look back at our previous years plans, so we can remember what did well in which beds, what didn't, and what needs to be rotated this year. 

While all this planning is going on... our Indoor Potato Experiment continues to thrive! These things are growing like crazy! I'm beginning to think that maybe I put too many in, and they are a bit overcrowded. Something to remember and learn from for next time, I suppose! 
Potato Plants!
I am hoping to start posting more frequently again soon, as we try to settle back into "normal" life. I'm sure I will have much to write about, as this is a very exciting time of year here at The Homestead. 

Thursday, February 21, 2013

Winter Gardening! Growing Potatoes Indoors, Part 1

I am utterly fascinated with the concept of four-season gardening. Here in New England, growing stuff in the winter is no easy feat, but I have been hoping to work on extending my garden season, so I’ve been reading up a lot of ways to garden year round. With that goal in mind, last month we began a little experiment… we are currently attempting to grow potatoes inside!  We've always had good luck growing potatoes out in our garden beds, and I did read that potatoes can do very well in containers, so we thought we'd give it a go. Here is what we did:

First, we got ourselves a big 5 gallon bucket, put some rocks in the bottom for drainage, then we tossed in a few shovels of compost. Next we cut some sprouted potatoes in chunks, making sure that each chunk had at least one good eye on it.

We placed these chunks into the bucket, and covered them over with more compost. We water this as we would any other plant, though we are careful not to water it too much, as we don’t want our potatoes to rot.

As the potato sprouts start to grow up through the soil, we keep adding more soil to cover them up. In Potato-Growing Lingo, this is known as "Earthing Up" your potatoes. Now that the soil has reached the top of the bucket, we keep watering, and let the sprouts go. This is where we’re at right now. Once the greens start to die back, we will dig in and see what we have… hopefully, we will have some potatoes!
 I will post updates as this project continues! Meanwhile... the Family and I are beginning to plan out our outdoor garden for the spring! More on this later!

Tuesday, February 12, 2013

Finding Light in the Darkness


So I haven’t posted in quite a while, as our family has been going through a difficult time. I wondered whether to post about it here, but ultimately have decided that it feels like the right thing to do.

On January 16th, my children’s father lost a 10-month long battle with pancreatic cancer. The weeks leading up to his death, and the weeks following, have been a struggle for the children, and for us. They weren't able to visit him much this past year, because of his illness, and that, in itself, has been hard on them... they missed a lot of time with him. Because nothing in life is ever simple, we have had a few other difficult struggles in our path during these weeks, as well, which has definitely added to our pain and feelings of being overwhelmed. However… We are Blessed to be surrounded by much Love and support, and that has helped our grief enormously. During this challenging time, I needed to take a break from the blog to focus on caring for my family.

We are trying to ease our way back into a “new normal.”  I know that this will take time. Right now, we are just taking things day by day, hour by hour, minute by minute. I know that some days will be easier, some will be harder, and that's OK. 

Tuesday, January 8, 2013

Homemade Vegetable Stock

During the fall and winter months, there are few things more comforting than a steaming pot of soup, simmering away on the stove. We sure do LOVE our soups, around here, and we have a large repertoire of vegetarian soups that we cook up on the regular basis. The base of almost every one of those soups is a good vegetable stock. There are lots of good store-bought stocks out there, which you can buy in a carton, a can, in cubes or powder form, or even as a concentrated paste to which you add water. But for a frugal kitchen, you can't beat homemade vegetable stock, made from scratch! 

There are very few rules when making your own stock, and you can do lots of improvising and experimenting, based upon what ingredients you have in the house. The basics "musts" are onions, carrots, celery and herbs... you can also add bits of other veggies you have on hand, just avoid things in the cabbage family, as things like broccoli, brussel sprouts and cabbage can give your stock an odd flavor. I like to use up the ends and peels of veggies, as well as the stems of fresh herbs. Just make sure that you don't use anything that's looks like it's starting to go bad. 

Here are some basic instructions on how to make your own stock:

Ingredients:
Browning up the veggies...
  • A couple of onions (feel free to use ends cut off from other recipes, and onion skins)
  • Carrots, and/or carrot peels 
  • A few stalks of celery (feel free to use ends and leaves)
  • Any other veggie trimmings you have on hand (see note above about cabbages) Mushrooms, if you have them, will give your stock a nice, deep, earthy flavor.
  • 4 or 5 garlic cloves, slightly crushed
  • A generous handful of herbs (I like to use parsley and thyme, but you might try sage, rosemary or other herbs as well. Toss in stems and all!)
  • A couple of bay leaves
  • Some peppercorns
  • a few prunes or raisins (I once saw a recipe which called for prunes in veggie stock. I tried it. I loved it. I don't know why it's so delicious, but it is, so do yourself a favor, and don't leave these out)
Simmering stock
Toss all the veggies and the garlic into a pot with a little bit of olive oil. Place over low heat and let the veggies cook, stirring often, until the start to brown up. This really brings out the flavor of the veggies. Next, pour in about 8 cups of water, and add the rest of the ingredients. Bring to a boil, then turn down to low. Let the stock simmer on low for an hour or so. Salt to taste. Strain the stock, and store in jars until needed. This will keep for a week in the fridge, or several months in the freezer. 

Another tip: If you frequently cook recipes where just a small amount of stock is needed, try freezing some in ice cube trays, then storing the stock cubes in zip bags in the freezer. 


Sunday, January 6, 2013

Roasted Chestnuts

Guess what we did today, for the first time ever... we roasted chestnuts in our fire pit! Yes, I know... with the holidays over, it's a bit late to be talking about roasting chestnuts over an open fire. But let me explain... you see, we planned to have a fire and roast chestnuts for Solstice, but Mother Nature did not cooperate (we had torrential downpours all day, which thoroughly soaked all our firewood) We thought about doing it for Christmas, but with all the relatives visiting and the food and the presents, we just didn't quite get to it. After Christmas we were in "Holiday Recovery Mode, so again we forgot about the chestnuts. But finally, today, with the holidays behind us, we took some time to build a fire and roast those chestnuts!

We had been storing the chestnuts in the fridge since Solstice. Chestnuts are quite perishable, so you do need to keep them refrigerated after you buy them. They will keep for several weeks if properly stored, but even then you may find a few with spots of mold (we did!). If that happens, just discard the bad ones, and the rest will be fine to eat. We prepared our chestnuts for roasting by scoring the shells a bit with a paring knife. Some websites suggest cutting an "x" into the flat side, but you don't need to get that fancy. As long as the shell is pierced, you're good.

It was a gorgeous day out, but our yard and patio were still snow-covered. I love having an outside fire when there is snow on the ground! We used our holiday wreath as kindling (the last of our holiday decorations!) and we got a good fire going. When we had a nice bed of coals, we set the cast iron skillet on the fire and poured in the chestnuts. We cooked them for about 15 minutes or so, stirring them till they had little dark spots and the shells were splitting.

We took them off the fire and let them sit a few minutes, until they were cool enough to handle. Then we peeled them and ate them as they were, still warm, chewy and delicious!


We had so much fun with this! Roasting chestnuts will definitely become an annual holiday-time tradition in our family from now on.

Tuesday, January 1, 2013

Happy New Year!


I sort of have mixed feelings on the idea of New Year’s Resolutions. I find the “All or Nothing”-ness of them a bit off-putting. However, I do think that the start of a new year is a great time to take stock of your life, and think about the things you would like to change or improve. I have a few of these, myself… not absolute “resolutions” exactly, but small changes I would like to work on implementing in my daily life. I prefer to think of them as “intentions” rather than “resolutions.” I know that some days I will make greater progress toward my goals than others, and sometimes I may even slide backward a bit. But that’s OK! The important thing is that I will do my best to live my life in a way that is good for me and good for my family, consciously and intentionally. Here is my list of Intentions for this year:

1. Keep on Keepin’ on.  Over the last several years, we’ve been working toward the goals we talk about in this Blog… living Simply, frugally, naturally and intentionally. My main intention is to continue on this path.

2. Move More. I have a tendency to exercise quite sporadically. I get on kicks where I’m moving my body on a regular basis, then I get on some long lazy stretches where I don’t. It is my intention to be more consistent, and move my body in some way, everyday… whether it’s yoga, a little hike, a long walk or a quick jog on the treadmill.
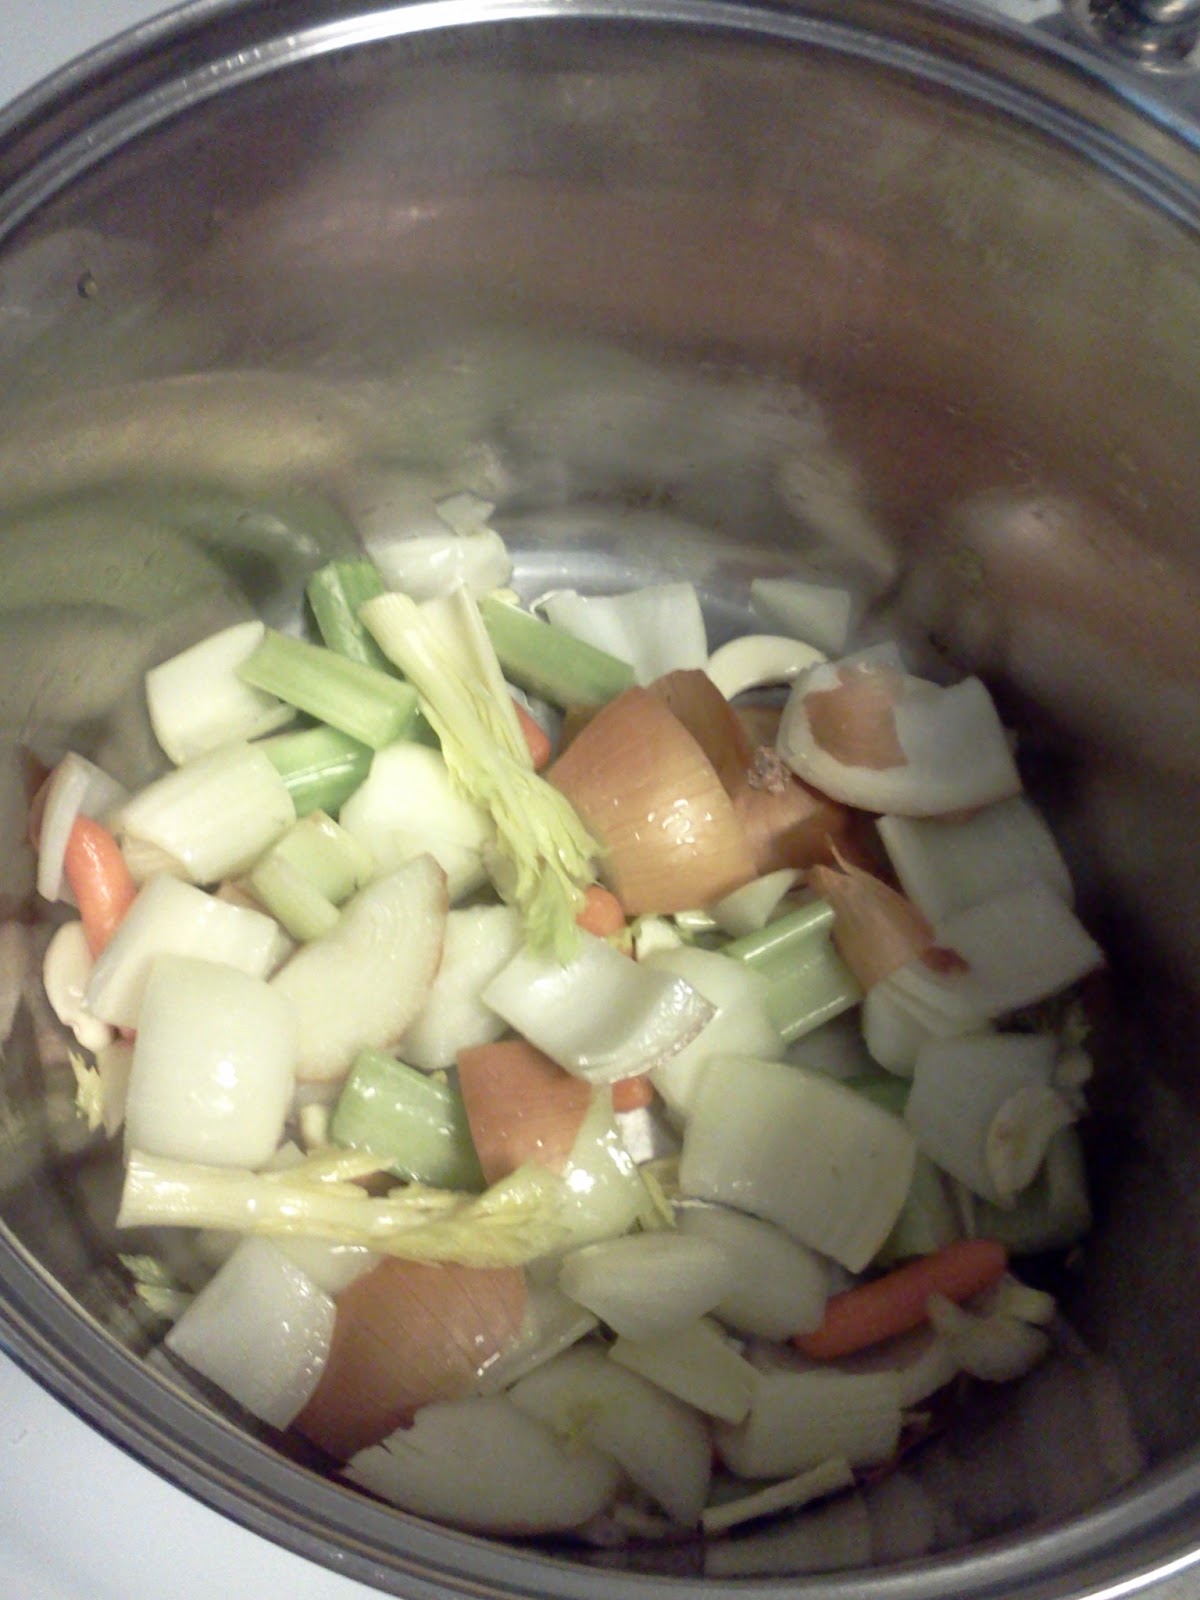
3. Try the vegan thing, again. I have been vegetarian since my teens (20-some-odd years ago now!) but a vegan lifestyle is something I’ve struggled with maintaining on any kind of long-term basis. I have tried a few times over the years, with varying degrees of success, but somehow I end up back in the world of butter, cheese and eggs. The older I get, the more convinced I am that dairy, in particular, is not so healthy for us, so I really would like to try to eliminate these things from my family’s diet. We already eat many vegan meals each week, so we are on the path… however, it is hard for us to go “all the way” as we are required to have dairy and eggs in the house because of our daycare business. Also, my family really does love their butter, cheese and eggs! It is my intention to prepare as many vegan meals as possible for my family, and to make vegan choices daily for myself.

4. Get out of debt, and start a savings. This has been an intention of mine for several years running, and I have yet to achieve it. Sometimes life throws you circumstances that you can’t really control. But I refuse to be beaten down by this, and I will never give up on the idea of one day achieving financial stability, if not security. I keep this intention in mind always, and continue to live as frugally as possible in hopes that every little bit will help us to one day achieve this goal.

5. Work at achieving a better balance between work and family life. I have posted about my anxieties on this issue before, and it’s something I still struggle with everyday. My intention is face each of the daily challenges I meet with patience, focus and love. I intend to continue to work at prioritizing my time so that I can be Present for my children and my partner.

So there you have it…my list of Intentions for the coming year. I look forward to seeing what 2013 has in store for us. I know we will be facing our share of challenges, but I also know that we will have more than our share of Blessings, too.

May you all be Blessed with Health, Happiness and Prosperity in the New Year!