This room underwent quite a transformation. It used to be our main daycare space. With the closing of our daycare, we were finally able to create a playroom for my kids. We don't have a whole lot of bedroom space in this house. With five kids' beds in two small bedrooms, there isn't much space for toys, so creating a space for them to hang out and play in was a real priority for us.
Now that our kids are a bit older (ages 9 up to teens) our play space needs are a bit different than when they were younger. The kids and I talked a lot about what they would like to have in the room and how they imagined using the room. They asked for things like space to draw and do art, space to display their lego creations, space to play games, and comfortable places to sit and read. They didn't want the room to seem to "babyish" but they still wanted it to be fun. I had some priorities for the room, too. I wanted a space where all the kids could feel comfortable hanging out together, and I wanted it to be easy to keep tidy. I also wanted to spend as little as possible putting the room together. (More on that below!)I'm happy to say that we ended up with a room that met all of this criteria and more.
Here are some shots of the room BEFORE... when it was a daycare room:


And now... here is the room AFTER... Our new Big Kid Playroom!
 |
| The sitting area, with an art display wall behind the loveseat. The frames have cork inside, so the kids can change the art in the frames easily. |
 |
| The chalkboard wall, game shelf and table for crafts and games. The built-in on the right of the chalkboard wall holds Legos. Lots and lots of Legos. |
 |
| Storage for toys and books. |
 |
| Our art cabinet. We do keep a ridiculous amount of art supplies, I know. The baskets store larger items, such as large bottles of paint and glue, palettes, etc. |
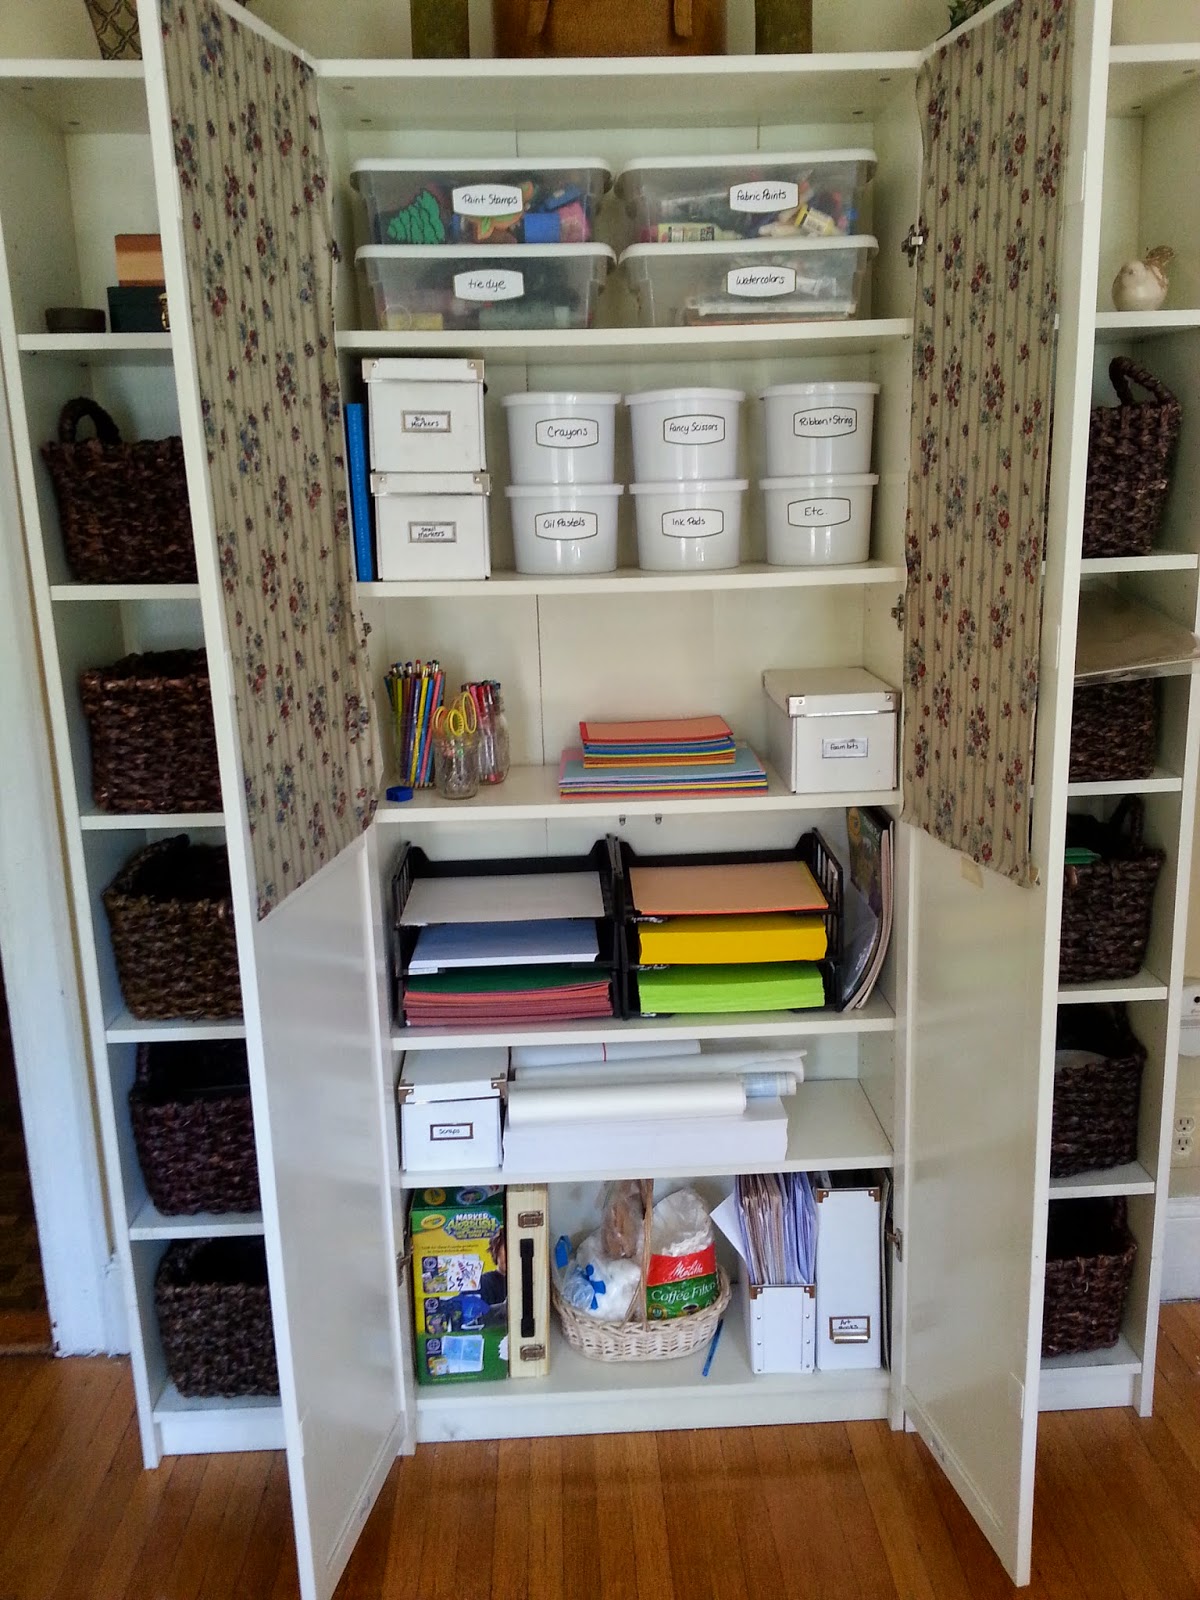 |
| Inside the cabinet... more art supplies. |
 |
| Noodle, drawing at the table. (The other kids ran away when they saw me coming with my camera.) |
And have I mentioned how much we love this room?
Next up... I'll be sharing our third and final "new" room... our living room! (Which, as of this writing, is still a work in progress... )
Your living room looks really gorgeous, especially at night. I love the changes you've made and I can't wait to see it after you do consider the room as done. I like the look of the alcove greeting everyone coming from the front. Thanks so much for sharing the lovely pictures of that wonderful project! I hope you're all in the best of health this season!
ReplyDeleteEssie Reed @ Valley Home Improvement